A personal guide to getting started with in-water surf photography as a woman
I remember the excitement of wanting to capture the surfers from a completely different perspective, to feel close and see the expression of the surfer as they took off on a wave.
The idea of being in the same wave as the surfer, capturing feelings that you just can't see from the beach.
But there's a lot I wish someone had told me before I jumped in with my camera.
Here are a few things I'd tell the version of me who was about to take her camera into the ocean for the first time.
P.S. Majority of the photos you see on this blog are from my first two years doing surf photography, 3-4 years ago.

Sign up to Monthly Newsletters here:

If Going out at Sunset or Sunrise
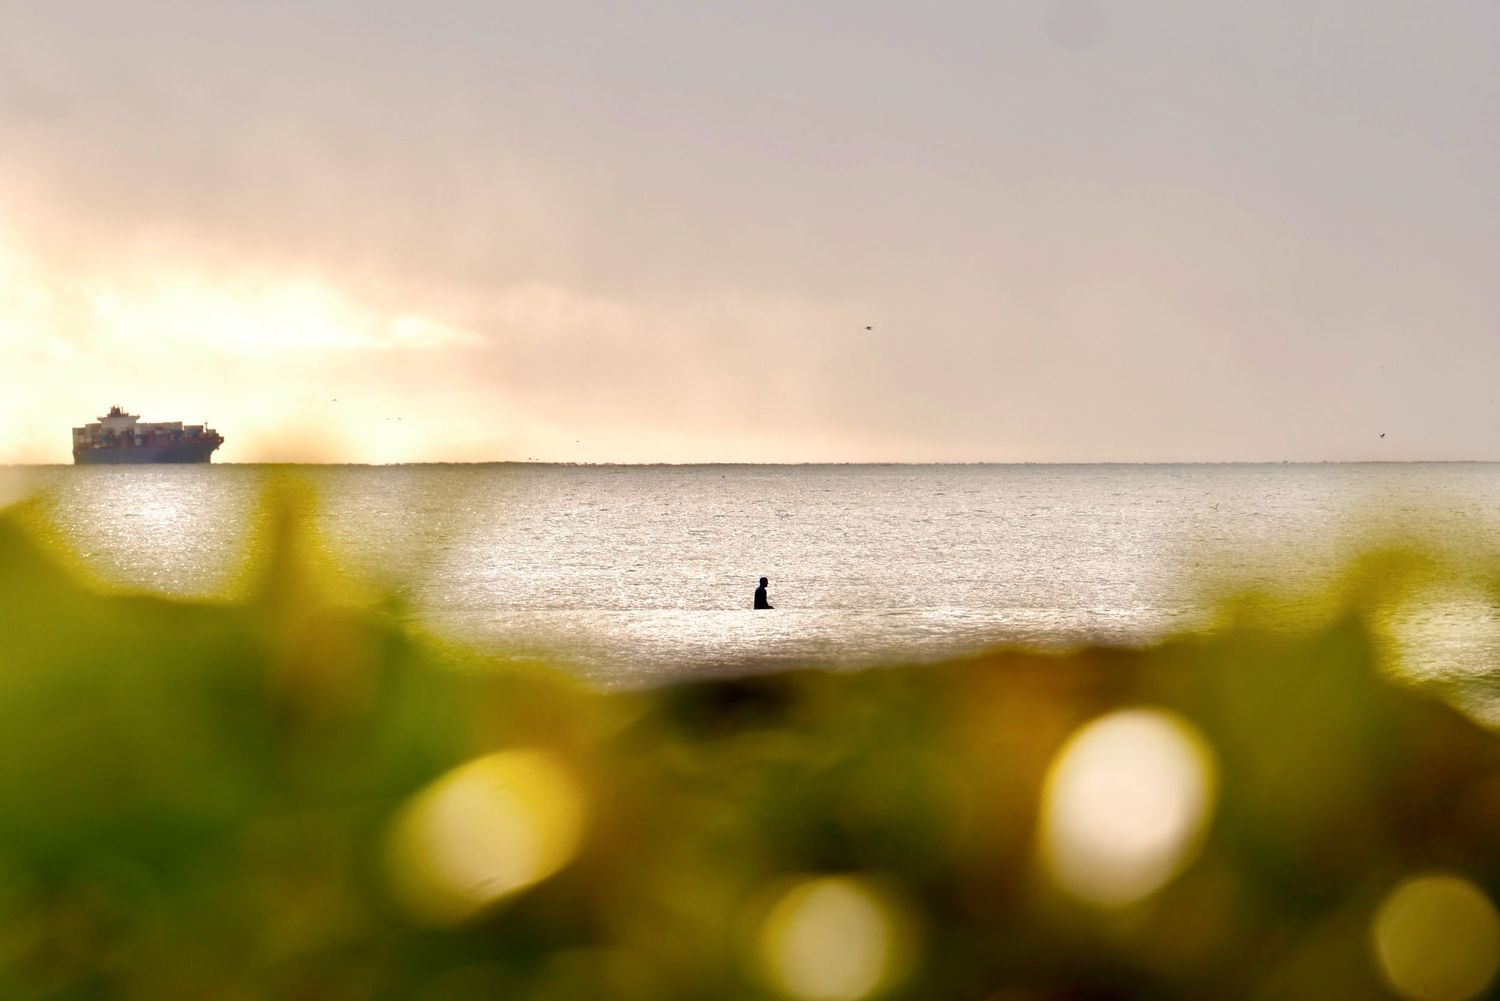
Sunset or Sunrise is when the sun is lower, the light is more golden and the colours are most striking. It has the wow factor.
The technical challenge: This is also the time when you will push your camera and lens to catch as much light as it allows.
This also means you will most likely be shooting with a wider aperture
(lowest F value that the lens can go down to which allows more light into the camera) creating more 'bokeh' and 'depth of field' (the blurry backgrounds that photographers love)
As well as a longer shutter speed (lower values of shutter speed exposes the camera to light longer) and creates motion blur with fast moving subjects like surfers.


The Advise:
I would tell myself to play around with the settings to figure out how to work with light. Start on land to figure out how light affects the image.
Try Shutter Speed Priority: you will be in control of how fast you capture motions. Create reference photos from the settings that the camera automatically chose. This allows you to worry about playing around creatively rather than manually setting everything.
Changing Shutter Speeds: play around with blur and motion using a range of shutter speeds that you change in the water on the camera (make sure it is accessible to change with buttons) from SS 20 (the part with most contrast in focus, rest is blur) to SS 40 or 60 (more shapes in focus, fast movements like water splashes are blurred).
For sharper capture of motions, I shoot between 250-800 SS in low light, and I get closer to the surfer to get the best shadow recovery in post production. If the surfer is far away, it is hard to recover shadows in the skin tones.
Here's a controversy, I was told two different things about ISO "keep it below 400...nah it doesn't affect the image with grains it your other settings..."
ISO actually does matter in my experience in both photo and video. Here is a tip that has worked for me with best recovery of shadows so I don't get those colour bleeds and strange skin tones:
Use Auto ISO BUT set your ISO range between 100-800 (you can create this ISO range within exposures menu on your camera, so when your camera is on Auto ISO it doesn't surpass this range). This allows better recovery of shadows in the photos in post production. I can cover how to do this in another blog, as it changes with video and 'dual native ISO' -don't worry about this for now!
Shooting in low light is tricky but if you learn to shoot in this, you will learn how to position yourself and your camera best.
Another thing is, if you have your back against the sun, your surfer will be lit up. If you are shooting into the light, you will have silhouettes (which make great motion blur shots!) and with this knowledge, let's dive into the next tip:

Learn to Read The Ocean before worrying about Getting The Shot
Being a good surf photographer isn't just about knowing your camera, but it has a lot to do with how you can position yourself in the lineup.
A lot of surf photographers start off taking photos too close to the lineup where the photos are of them paddling into a wave, and the surfer from behind the wave. I've created some emotive shots from these with beautiful backgrounds, but I struggled to find the exact spot to shoot when I didn't take my time watching the surf and the water movements when I first started.

First, talk to the surfers who has just come out of the surf where you want to go out at.
Ask them where they paddled out, which way the rip was pulling, where the best 'banks' were (surf lingo for best specific spot for a wave), and which way they were surfing more to the right or to the left of the peak of the wave.
This gives you a good idea what to look out for on top of your observations.
You can start by following a surfer out to the water's edge. Then watch that surfer where they paddle, how fast they drift up the ocean in the rip. The rip can be your friend only when it is not a big strong rip. Which way are the surfers surfing most? are they surfing to the right or left more? Would you be fighting the rip to get to the lineup or to face the open wave?
Once I have identified the rips and the direction, I put my fins on the beach, and walk backwards into the water, once I am waist deep, I start swimming, diving under the wave while holding onto the front and back of my housing to protect the glass.
If you are not a surfer, a tip for 'duck diving' under the turbulence of the wave is to dive one hand out, then head, and housing hugged to your chest about 1.5m away from the wave breaking. You want to dive deep to be in the calmer part under the wave closer to the ocean floor. Your hand that dives first will help identify where the ocean floor is, so you reduce the risk of hitting your head first. Let the wave pass you, and allow yourself to be floated back to the surface with your leading hand out first to signal surfers you are surfacing.
Once you get to the lineup, take some lineup photos of people sitting on their boards, chatting, laughing. Then make a landmark: see where the surfers are surfing the open wave most, and create a land mark for that position, and slowly swim to that position while feeling which way the rip is pulling. This is where you want to shoot from. This can also change with the tide.
Your safety is the top most priority. Checking in with yourself and trusting your gut will save you a rescue. If you feel tired, go back in to shoot from land. When you are tired you are less likely to be alert and aware of other surfers, or where you are in the ocean. Go out with a surfer buddy you trust the next time you go. Choose a beach where there is active lifeguard patrolling to start with.

You can't control what happens in front of you
Unlike a studio or land-based shoot, you can't ask the ocean to do something twice.
You can't always direct the surfer, control the light or predict exactly where the wave will break.
You have to anticipate, observe and react.
Sometimes the best photographs happen when you stop trying to control everything and start paying attention to what's unfolding.

Use your monitor, not the viewfinder and be present
One thing I learned is that it's easy to become so focused on your settings and framing that you forget to look around. Use an automatic setting to start with like Aperture Priority or Shutter Speed priority and then fire out what settings you like from the photos you take and keep as reference.
Take time to watch the waves, understand the movement and notice where the light is coming from. Using the viewfinder restricts your vision of what is happening around you, so I would use the monitor instead.
Learn to anticipate moments rather than constantly chasing them.
Sometimes you need to put the camera down, observe and simply be present in the water.

Your first photos may not be 'perfect', but thats the best part!
And that's okay, to be honest, they are the shots you would want to use later on and re-edit when you develop your own style!
You'll probably have blurry images, missed focus, awkward compositions, water droplets and moments you wish you'd captured differently. I used to blame my camera gear because it was cheap with no stabilisation or good autofocus, but you don't need the latest gear to get started. Honestly, people were so impressed with images I was able to take in my first 2 years with an 11 megapixel old second hand camera I had no idea about! One even ended up on a magazine, my first sale, and it wasn't even my favourite photo of the session.
Every session teaches you something. Learn from what worked, what didn't and what you would do differently next time. Save the photos for reference when you look back to figure out the settings of accidentally good photos you have taken!
Your skill develops through experience, not overnight.

You Don't Need to Chase the 'Perfect' Wave
This is something that has become increasingly important in the way I photograph.
I love capturing the moments beyond the perfect manoeuvre. I think as women, we are especially good at capturing this.
The laughter after a wipeout, the excitement of making a wave, the little interactions between friends and the feeling of being completely immersed in the ocean.
Not everything needs to be an action shot.
Sometimes the story is happening between the waves.


What would I tell her who just picked up her first camera housing?
I'd tell myself that it's okay to be nervous.
That I don't need to know everything before I start.
That there will be days when I come home with no photographs I'm particularly proud of, and days when I'll capture something that reminds me exactly why I picked up a camera.
I'd remind myself to respect the ocean, trust the process and enjoy learning. I'd tell her to keep dreaming big and envision the feeling instead of the image you want to capture. Don't let the dreams stay dreams, go out and practice with love and determination.
Because getting in the water with a camera isn't just about taking photographs.
It's about learning to see differently.
And sometimes, the most beautiful stories are happening between the waves x
See you in the water xo
With love and stoke,
Kanari Zukoshi